Introducing WAMP Server: Your Local Web Development Solution

In the world of web development, having a reliable local server environment is essential for testing and building websites before they go live. This is where WAMP Server comes into play. WAMP, which stands for Windows, Apache, MySQL, and PHP, is a popular open-source software stack that provides a seamless platform for developing and testing dynamic web applications on your local machine. In this article, we will explore what WAMP Server is used for and guide you through the process of setting up a local web server with a specific focus on building WordPress or Joomla websites.
What is WAMP Server Used For?
WAMP Server brings together the key components necessary for web development: the Windows operating system, the Apache web server, the MySQL database management system, and the PHP scripting language. It provides a complete stack that allows developers to simulate a live server environment on their own computers.
WAMP Server is particularly useful for
Local Development: WAMP Server enables developers to create and test websites locally without the need for an internet connection or an external web server. This allows for a faster and more efficient development process.
Content Management Systems: WAMP Server is often used for developing websites powered by content management systems (CMS) like WordPress or Joomla. With WAMP Server, you can install and configure these CMS platforms on your local machine, allowing you to experiment, customize, and debug your website before deploying it to a live server.
Database Management: The integration of MySQL with WAMP Server allows developers to create, manage, and manipulate databases easily. This feature is particularly useful when working with CMS platforms that rely heavily on databases to store and retrieve content.
Setting Up WAMP Server and Configuring Your Local Web Server
Now that you understand the benefits of WAMP Server, let’s dive into the process of setting up your local web server environment.
Step 1: Download and Install WAMP Server
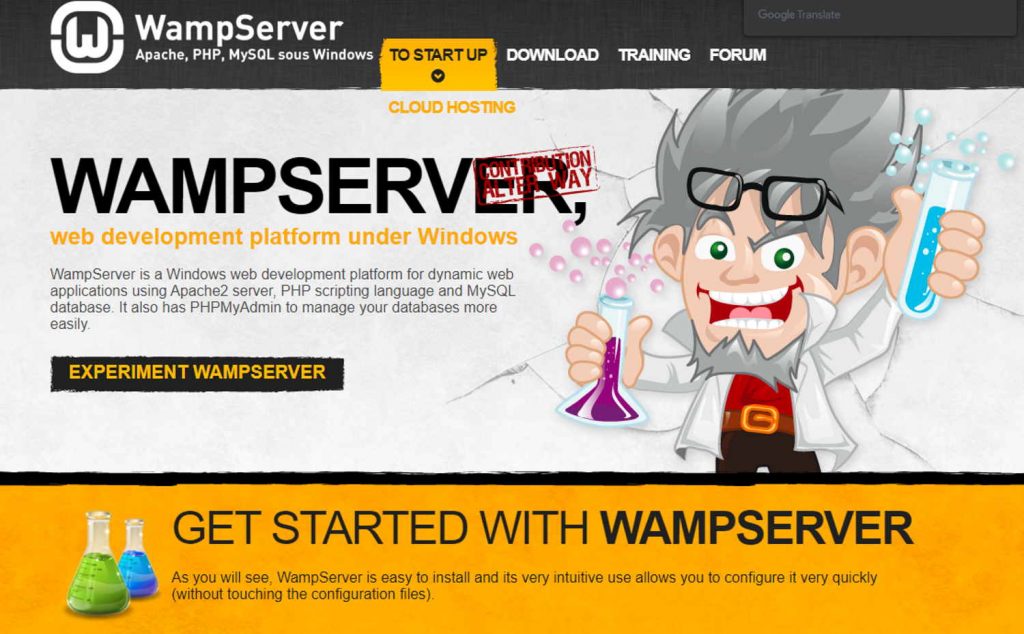
Visit the official WampServer website (https://www.wampserver.com) and download the latest version of WampServer compatible with your Windows operating system.
Run the downloaded installer and follow the on-screen instructions to install WampServer. Choose the desired installation directory and make sure to select components such as Apache, MySQL, and PHP during the installation process.
Once the installation is complete, launch WampServer from the desktop shortcut.
Step 2: Configuring Apache and MySQL
Upon launching WampServer, you will notice an icon in your system tray. Left-click on the icon, and a menu will appear. Click on “Start All Services” to initiate the Apache and MySQL servers.
After starting the services, the icon should turn green, indicating that both servers are up and running.
Step 3: Creating a Database
Open your preferred web browser and navigate to http://localhost/phpmyadmin/. This will open phpMyAdmin, a web-based tool for managing MySQL databases.
Click on the “Databases” tab and enter a name for your new database in the “Create database” field. Click the “Create” button to create the database.
Step 4: Installing WordPress or Joomla
Let’s focus on installing WordPress or Joomla on your local web server.
Installing WordPress
Download the latest version of WordPress from the official website (https://wordpress.org) and extract the files to a folder within your WampServer’s “www” directory (typically located at C:\wamp64\www).
Open your web browser and navigate to http://localhost/your-folder-name (replace “your-folder-name” with the actual folder name where you extracted WordPress files). The WordPress installation wizard should appear.
Follow the on-screen instructions to set up your database connection and provide the necessary information, such as site title, username, and password.
Once the installation is complete, you can access your WordPress website by visiting http://localhost/your-folder-name.
Installing Joomla
Download the latest version of Joomla from the official website (https://www.joomla.org) and extract the files to a folder within your WampServer’s “www” directory (e.g., C:\wamp64\www).
Open your web browser and navigate to http://localhost/your-folder-name (replace “your-folder-name” with the actual folder name where you extracted Joomla files). The Joomla installation wizard will appear.
Follow the on-screen instructions, providing the necessary information such as site name, database details, and administrator login credentials.
Once the installation is complete, you can access your Joomla website by visiting http://localhost/your-folder-name.
Conclusion
With WAMP Server, you can transform your computer into a powerful local web server environment. It simplifies the process of developing websites by providing all the necessary components in one package. Whether you’re building a WordPress blog or a Joomla-powered website, WAMP Server offers a convenient platform to test, customize, and debug your creations before going live. By following the steps outlined in this article, you’ll be well on your way to harnessing the power of WAMP Server and taking your web development skills to the next level.


